Imagine this: you’re cruising down the road, the evening sky growing darker by the minute, only to realize that one of your one low-beam headlight is not working/has gone out. Frustration mounts as you wonder, “Why now?”—especially when your safety and the safety of those around you are on the line.
Don’t worry! This guide will walk you through diagnosing and fixing that pesky low-beam headlight issue with a blend of practical steps and technical insights. Buckle up, and let’s dive in!
Common Causes of One Low Beam Headlight Not Working:
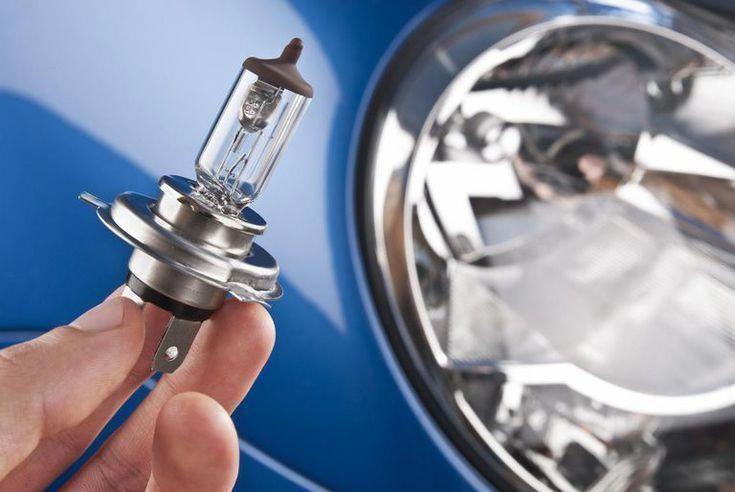
- Burnt-Out Bulb: The most common reason for a headlight to stop working is a burnt-out bulb.
- Faulty Headlight Relay: The relay controls the power to your headlights. A faulty relay can cause one headlight to stop working.
- Blown Fuse: Each headlight has its own fuse. A blown fuse could be the culprit.
- Wiring Issues: Damaged or corroded wiring can prevent power from reaching the headlight.
- Bad Headlight Switch: The headlight switch could be malfunctioning, preventing the headlight from turning on.
- Socket Issues: A faulty or corroded headlight socket can disrupt the connection between the bulb and the vehicle’s electrical system.
How to Diagnose the Problem?

Check the Bulb:
The first step is to check if the bulb is burnt out. This is a simple task:
- Remove the headlight cover.
- Inspect the bulb for any signs of damage or burnt filament.
- Swap the bulb with the working one from the other headlight. If the bulb works, the issue lies elsewhere.
Inspect the Fuses:
Locate your vehicle’s fuse box and find the headlight fuses. Check if the fuse for the non-working headlight is blown.
- Replace the blown fuse with one of the same amperage.
- If the new fuse blows immediately, there might be a wiring issue or a short circuit.
Examine the Relay:
If the bulb and fuse are fine, the relay might be faulty.
- Locate the headlight relay in the fuse box.
- Swap the relay with a similar one in the box to see if the headlight works.
Check the Wiring and Socket:
Inspect the wiring and the headlight socket for any signs of damage or corrosion.
- Use a multimeter to check for continuity in the wires.
- Clean the socket contacts if corroded.
Test the Headlight Switch:
If all else fails, the headlight switch might be the problem.
- Test the switch with a multimeter to ensure it’s working correctly.
How to Fix One Low Beam Headlight Not Working
- Replace the Bulb: If the bulb is burnt out, replace it with a new one.
- Ensure you buy the correct bulb type for your vehicle.
- Handle the new bulb with gloves to avoid getting oils from your skin on the glass, which can cause it to burn out quickly.
- Replace the Fuse: If the fuse is blown, replace it with one of the same amperage.
- Check the vehicle’s manual for the correct fuse rating.
- Replace the Relay: If the relay is faulty, replace it with a new one.
- Ensure the replacement relay has the same specifications as the original.
- Repair or Replace Wiring and Socket: If the wiring or socket is damaged, repair or replace them.
- Solder any broken wires or replace the wiring harness if necessary.
- Clean corroded sockets or replace them if they are beyond repair.
- Replace the Headlight Switch: If the switch is faulty, replace it with a new one.
- Consult your vehicle’s manual for the correct replacement procedure.
Conclusion
A single non-working low-beam headlight can be more than just a minor inconvenience—it’s a potential safety hazard that demands attention. But with this guide at your side, you’re equipped to diagnose and fix the problem like a pro. Whether it’s a burnt-out bulb, a blown fuse, or a faulty relay, these steps will help you get your headlight—and your driving confidence—back on track.


